103: Installing WordPress to a Hosted Website

Installing WordPress
Welcome back Sunday WP reader!
You have already learned so much. This next topic will walk you through step by step on how to install WordPress to a hosted website. This example will go through using cPanel with ByetHost, but it will be similar with any hosting account that uses cPanel.
Log into your cPanel
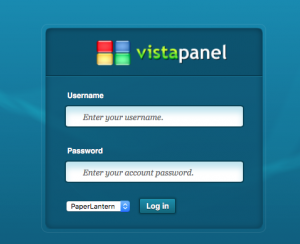 To access ByetHost cPanel visit cpanel.byethost.com. Once here log into your account. This will be pretty similar for any hosting company that uses cPanel.
Once you are logged in, you will need to scroll down until you locate your app installer. For installing WordPress using ByetHost, locate the Softaculous App Installer. Other hosting companies may use a different name, but it is generally under your software section.

For a hosting company like GoDaddy they say it’s under applications.
Once we have located and clicked on it, you should see applications that you can install for your website. 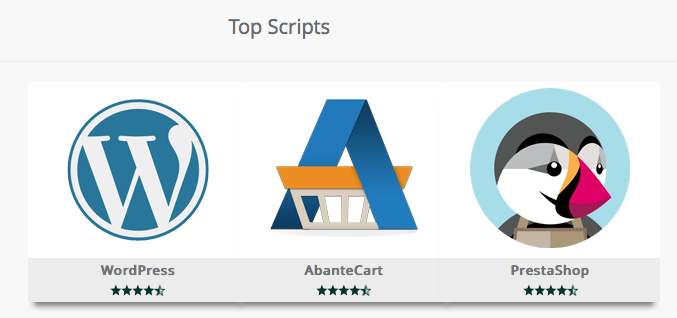
Locate the WordPress icon and select install.
Installing WordPress Options
After we have clicked install WordPress, you will be presented with options that you can choose. Let’s go over those options.
Software Setup
Choose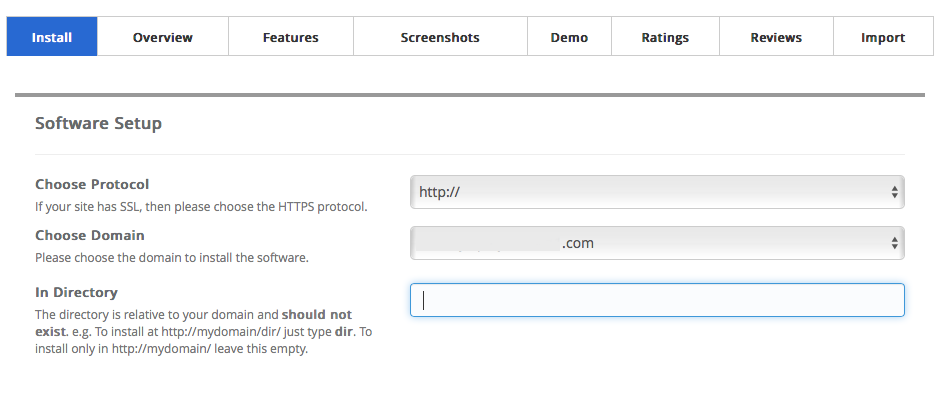 Protocol – If you paid or have SSL encryption for your site then change this option to https://, otherwise you can leave it as http://.
Choose Domain – *Important* if you are using free hosting and you have already added a domain to your account, “See – 102: Register a domain and sign up for hosting“. Then make sure to change this to your website name. Or else it may default to the subdomain, so you would get “yourwebsite.com” instead of :yourwebsite.yourhost.com”.
In Directory – This is the directory where WordPress installs. By default it will show WP and you would want to remove this so it is blank, as per the example. Otherwise a visitor would have to type in “yourwebsite.com/wp” instead of just “yourwebsite.com”.
Site Settings
Site Name – 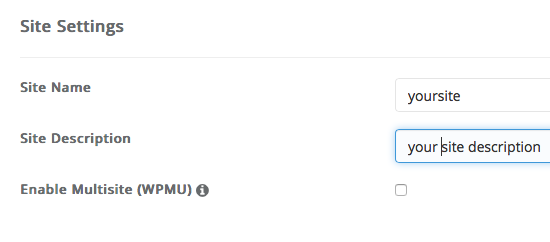 If you have a name for your site, type it here. Example for this website we would use Sunday WP.
Site Description – Add a brief sentence of what your website is about. Example; “Master WordPress on a Sunday”.
Enable Multisite – Most likely you would leave this unchecked. If your hosting provider allows this feature, it provides the ability to create a network of sites on demand.
Admin Account
Admin Username – 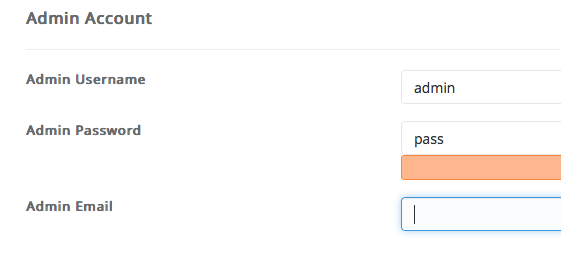 This is where you will select your user name. This will be used to log into WordPress on your site. *Note* it is highly recommended to change this from admin. You will also want to write this down and keep it safe.
Admin Password – This is the password to log into WordPress on your site. The color bar represents how strong your password is. Make sure to change the default password. Choose something that is strong and hard to guess. You will also want to write this down with your Username and keep in a safe place.
Admin Email – Enter your email address.
Choose Language and Select Plugin(s)
Select Language –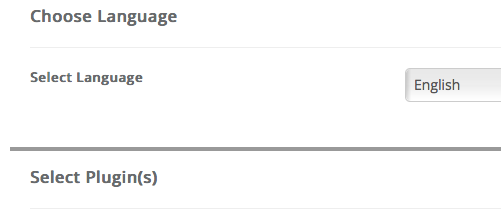 This gives you the option to select a language. SundayWP per TOC is for U.S. only so select English.
Select Plugin(s) – You might have an option to select plugin(s) with your WordPress installation. This maybe different depending on your host provider. Note: This should not to be confused with the plugins that you can install later in WordPress, that help you create your website.
Advanced Options and Select Theme
Advanced Options – 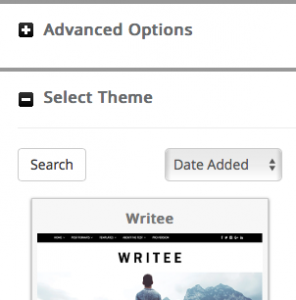 With the installation of WordPress through Softaculous you might have the ability to install advanced options. Most users can skip this step, but you might find some useful things. Like backup location and the ability to automatically update WordPress.
Select Theme – WordPress is powered by themes. There are numerous free themes to choose from. Note: “You don’t have to choose a theme at this time and a default theme will be installed”. After installation, you will have the ability to change your theme. We cover this topic in detail. Check out 104: Installing a WordPress Theme.
Almost done, all we have left to do is click install and you will see a progress bar installing WordPress for your website.
Logging into WordPress
Congratulations you have installed WordPress. Now it is time to login to your website and start creating those amazing posts, or selling those products everyone is ready to buy!
How to Login to your WordPress Site
Logging 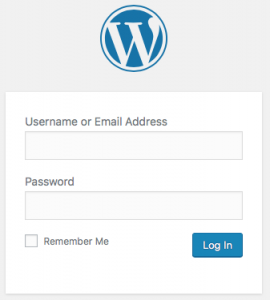 into your WordPress site will be determined on what you chose in the “Software Section – In Directory”. You may have also received an email when you installed WordPress of where to go to login. The login screen should look like this. Enter your “Username or Email Address” and your “Password” and click “Log In”.


Hey checkout this to boost site rank
you are really a good webmaster. The web site loading speed is amazing. It seems that you’re doing any unique trick. Furthermore, The contents are masterpiece. you have done a wonderful job on this topic!